What better way to experience the Grand Canyon than to actually hike down into the canyon itself? Find out everything you need to know about hiking Bright Angel Trail!
Jump To:
What to Expect on the Hike
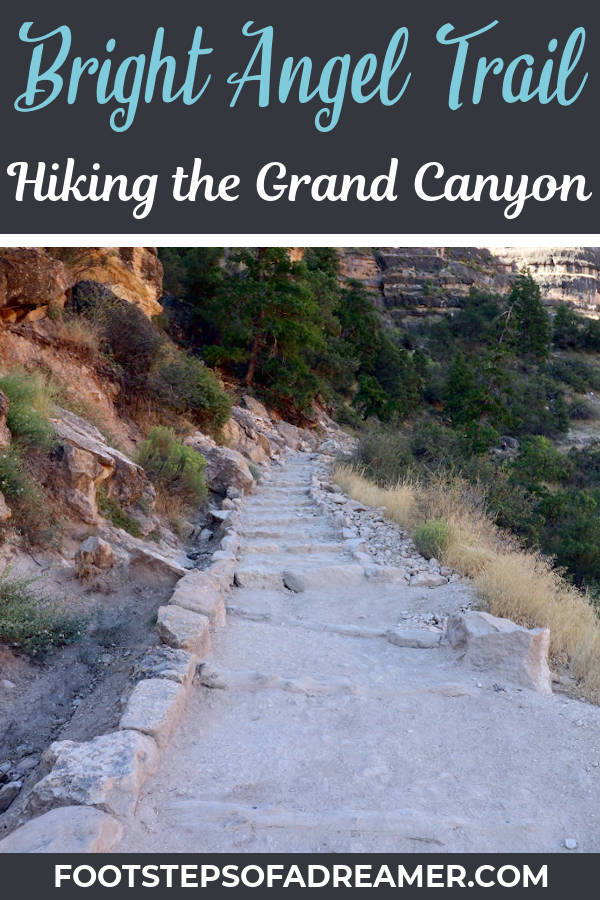
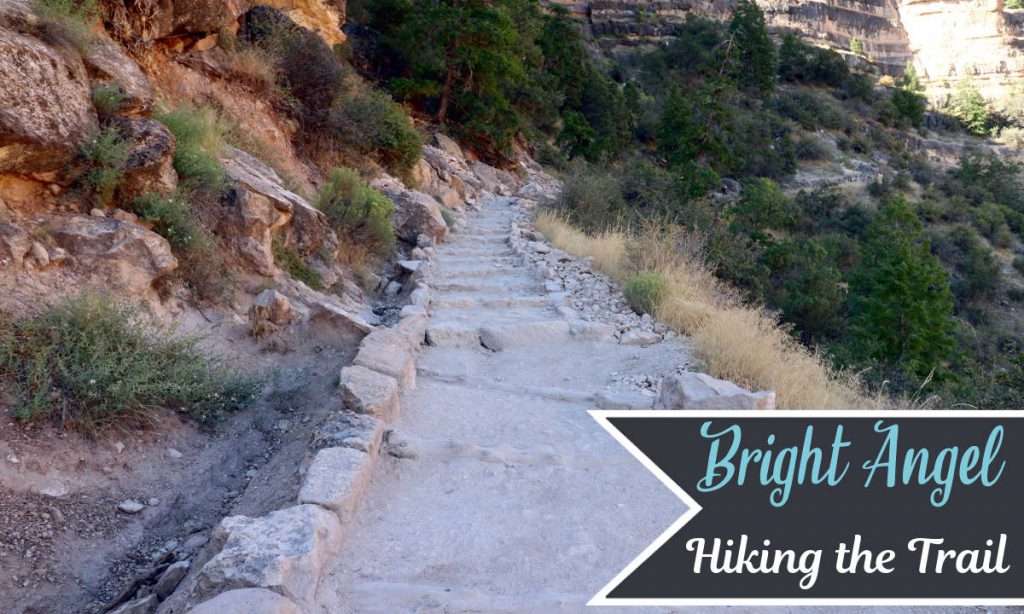
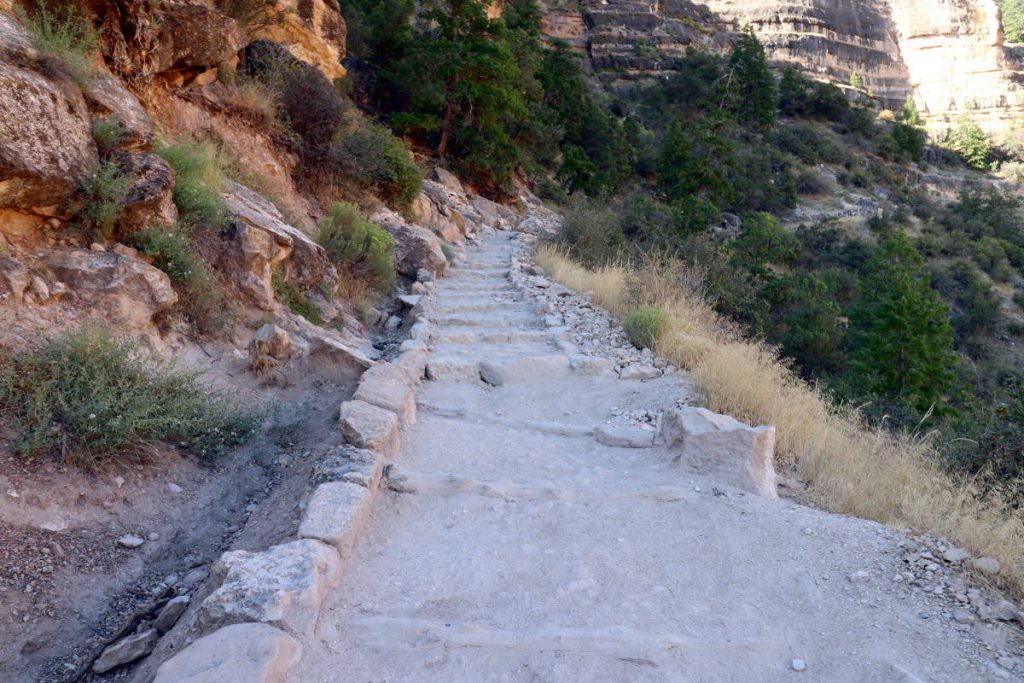
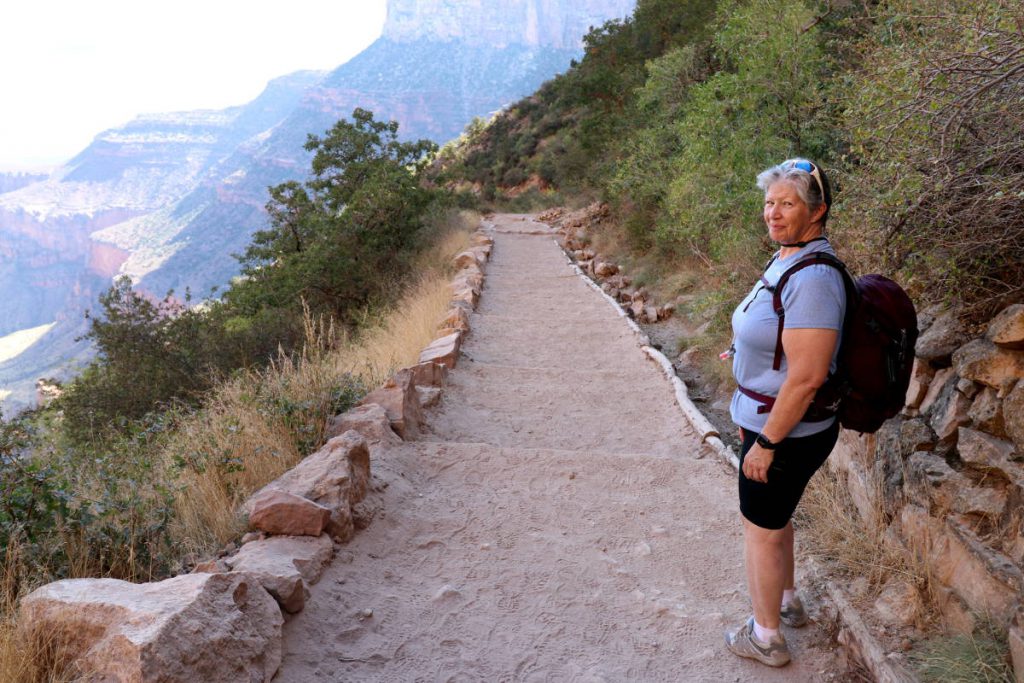
At first we weren’t sure if we were even going to go on the hike. The beginning of Bright Angel Trail seemed a bit narrow and close to the edge. It didn’t bother me much, but with my mom’s fear of heights, we weren’t sure if it was a good idea. However, she didn’t want to “chicken out,” so we braved it.
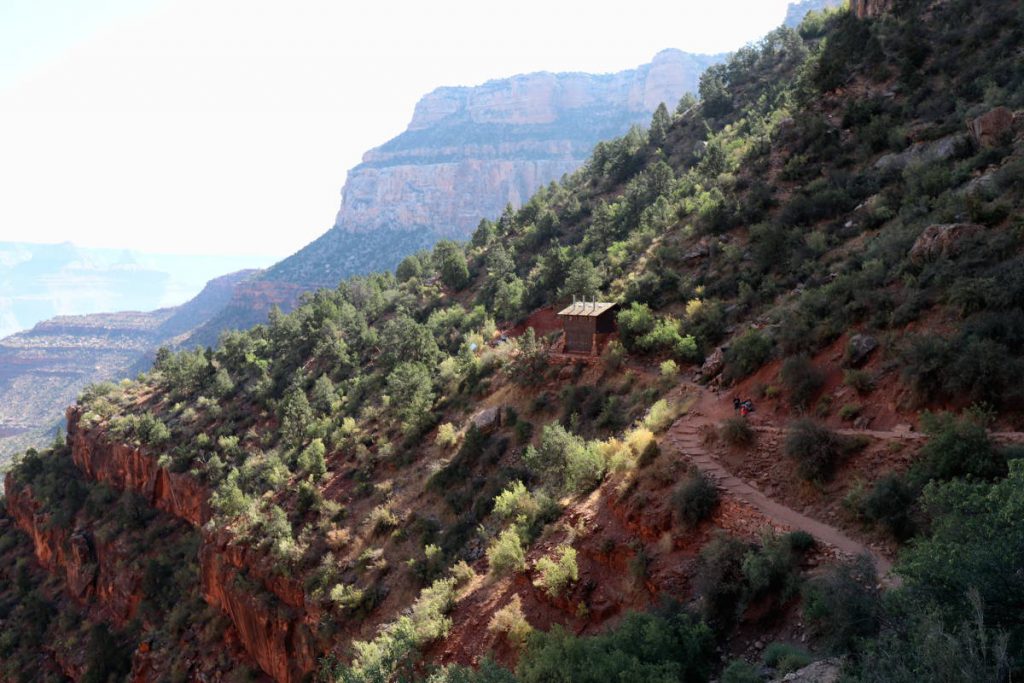
Things actually got better as we went. The trail got a bit wider after the first bend, so you didn’t feel quite so close to the edge. As you continue, there are certain parts of the trail that still get narrow, but somehow you get used to it. The trail is entirely downhill, but thankfully the use of logs and stones helps create sort of makeshift steps that make things a bit easier.
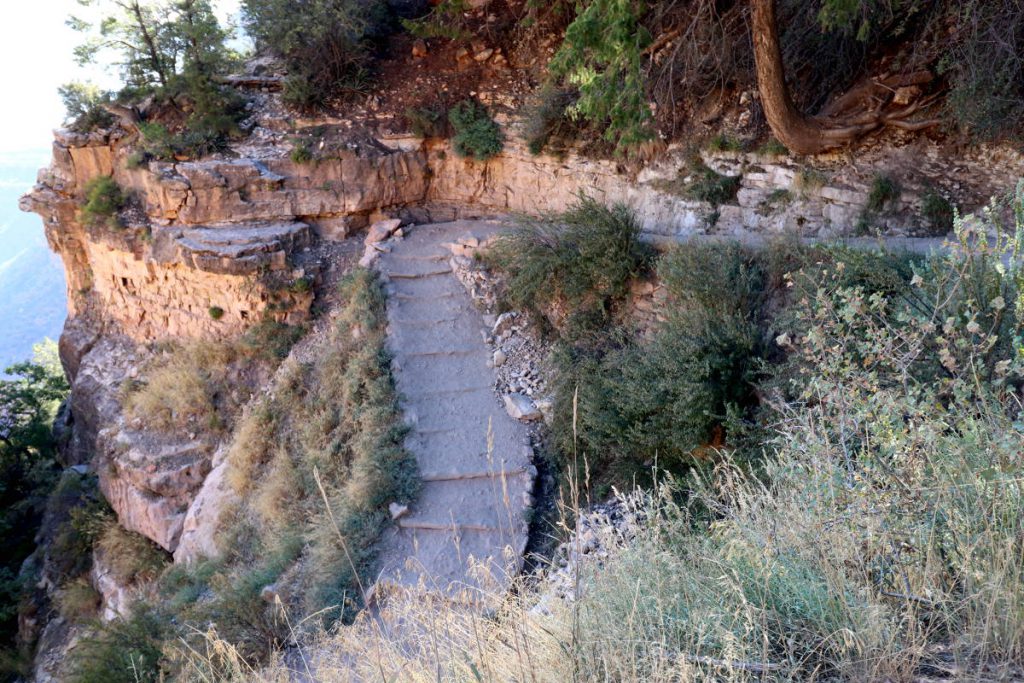
The coolest part is that you get a really cool view of the canyon as you hike. Unfortunately because of all the switchbacks, it’s mostly the same angle of the canyon the entire time, but as you get lower, the view changes a bit.
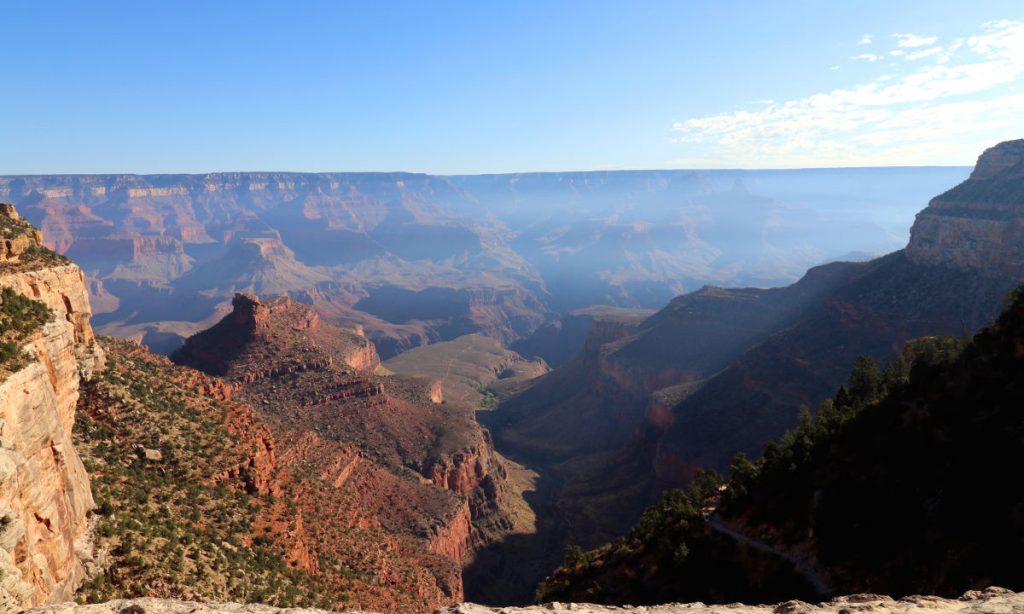
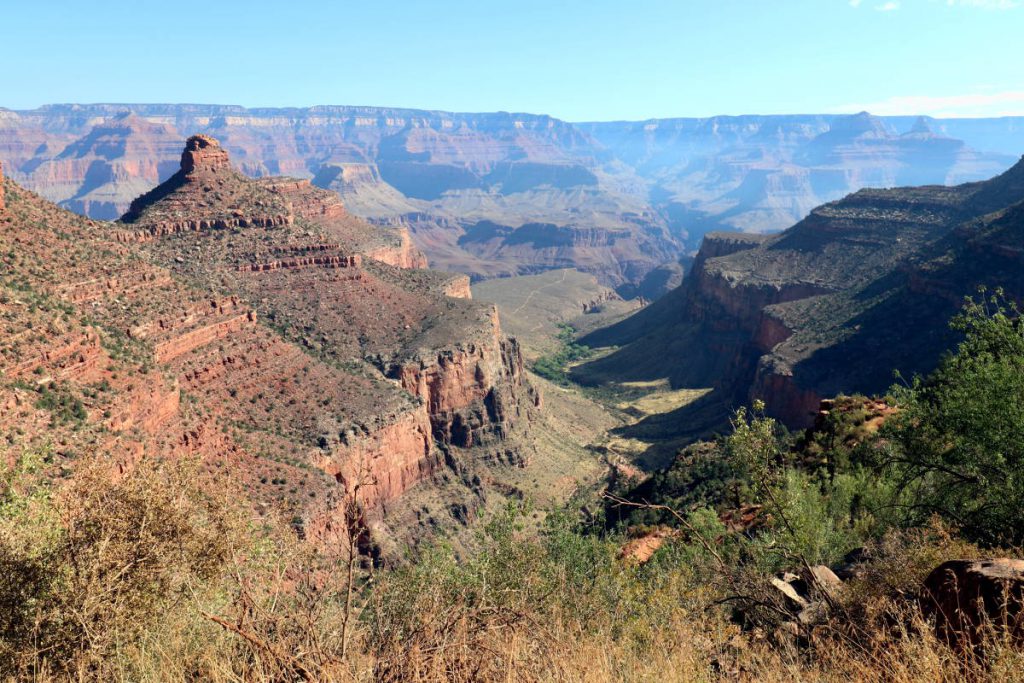
Bright Angel Trail has several different defined points that sort of help you track how far you’ve gone.
| Stopping Point | Distance (1-way) | Distance (round-trip) | Notes |
| 1st Tunnel | 0.18 miles | 0.36 miles | |
| 1st Switchback | 0.45 miles | 0.9 miles | |
| 2nd Tunnel | 0.75 miles | 1.5 miles | |
| 1.5 Mile Resthouse | 1.5 miles | 3 miles | Water available seasonally |
| 2 Mile Switchback | 2 miles | 4 miles | |
| 3 Mile Resthouse | 3 miles | 6 miles | Water available seasonally |
| Indian Garden | 4.5 miles | 9 miles | Water available year-round |
| Plateau Point | 6 miles | 12 miles | Water available seasonally |
We had planned on hiking to the 3-mile rest-house, for a total of 6 miles hiked round trip. However, we quickly realized as we hiked that if we wanted to hike to the 3-mile rest-house, we should have started much earlier in the day. Instead, we decided to turn around at the 1.5-mile rest-house.
The hike up is definitely more strenuous. It’s not as hard on the knees and toes as when you go down, but definitely involves a lot more effort. We just took it slow, making sure to stop frequently to catch our breath and drink plenty of water.
When to Start Hiking
Depending on what time of the year you visit the Grand Canyon, you’ll definitely want to get an early start. In July, temperatures can get as high as 107° F. Even when we went in September, the temperature could still get as high as 95° F. If you plan on hiking even just a small portion of the trail, you’ll want to start early, like really early. We started hiking at about 8:00 AM and turned around at the 1.5 mile rest-house, but depending on how far you plan on hiking and what time of the year you go, I’d recommend starting much earlier than we did.
What to Wear and Bring With You
Good shoes and water! If you don’t have these, I wouldn’t recommend this hike.
The trail is made up of sand like dirt and is full of loose stones. I’d definitely recommend having at least a comfortable pair of trail runners (tennis shoes), if not a solid pair of hiking boots.
Also, when it comes to shoes, I highly recommend purchasing shoes that are at least half a size up from what you normally wear. Bright Angel Trail is relatively steep. This means that, as you make your way down into the canyon, your toes will take a majority of the impact of every step you take. Having a little extra room in the front will prevent your toes from slamming into the front of your shoe and will save your toes a lot of pain. If your toes are hitting the front of your shoe, you run the risk of getting blisters and potentially even losing a few toe nails.
As mentioned above, you’ll definitely want to make sure you bring plenty of water with you. Depending on what time of the year you go, a regular water bottle may not be enough water for this hike. Some of the rest stops have places for you to fill up on water during certain times of the year, but it can sometimes be unavailable due to water line breaks, so you best be prepared as if there isn’t any water available on the trail. My mom picked up a 2L hydration bladder and I picked up a 4L one for our Havasu Falls trip, and they worked just great for this hike.
Liked this article? Pin it to Pinterest!